
How To Make A Ring Band
3rd Sep 2024
Do you want to make the perfect ring band, with a
professional finish?
Then this post is for you.
The right tools and techniques make a big difference to the ease with which you can complete the process and the finish of your product.
In this post, we’ll help you make a ring band step by step.
Recommended Tools
Here are the tools you’ll need for the job:
- Jewellery wire
- Safety ruler
- Piercing saw or wire cutters
- Ring mandrel
- Half-round pliers or pliers with 2-step curved edges
- Nylon jaw pliers
- V notch pliers (optional)
- Rawhide mallet
- Flux
- Solder
- Soldering block
- Jewellers torch
- Pickling solution
- Tweezers
- Bench pin
- Polish
- Flat file
- Glass of water
- Polishing cloth
Choosing Your Wire Type
Ring bands should use half-hard wire, as it provides a balance between malleability and strength, allowing you to form it into a perfect circle without marking it, while also being strong enough to withstand daily wear.
Sterling silver, gold, and platinum are popular choices for ring bands.
The thicker the wire, the more difficult it will be to shape.
We have a full guide on choosing the right wire for jewellery making here.
Wire Length for Ring Size
Accurately measuring the wire length is critical to ensure a perfect fit.
Use the formula Length=π×(Diameter + Wire Thickness) to calculate the required length, adding an extra centimetre to accommodate the soldering overlap (π can be approximated as 3.14).
But don’t worry, because we’ve created a quick reference table to calculate the length you need.
The measurements below include 2-3mm of extra length to account for filing/soldering:

Cutting & Filing Wire

The next step is to cut your length of wire to size.
Measure and mark the length you need with a marker pen and safety ruler (we recommend this ruler).
For cutting the wire, you have two options:
- Piercing saw – this provides a very flush cut without much filing needed, but takes a little longer, and requires you to clamp the wire in place.
- Hard wire cutters (these cutters are our favourites) – a much quicker cut, but requires more filing to create a flush end.
Once cut, you’ll want to ensure the ends of the wire are perfectly flat, so they can come together to form the ring band.
We recommend using a fine-grit needle file for more precision.

To grip the wire, we recommend using these V Notch Parallel Pliers for round or D-shaped wire, or Smooth Jaws Parallel Pliers for square wire. The parallel jaws will give you a superior grip and allow you to line the wire end with the sides of the jaws, and file against that flat surface as a guide.
You could also use a ring clamp to grip the wire. However, you may find you are more likely to need the support of a bench peg to aid your stability when using the clamp, which is less likely with a pair of our recommended pliers.
Form Your Ring Shape
At this stage, you can either form a rough oval to join the wire quickly using pliers, or take the time to perfectly form a circle using your ring mandrel.
We would recommend the quicker approach, as you’re likely going to have to reform after soldering anyway, so you may as well save this step until then.
Another benefit of using the pliers is when you’re using a thicker wire, such as for a man’s wedding ring, as it’s a lot easier to manipulate using pliers than with a hammer.

To form the ring shape using pliers, we recommend these Half-Round Parallel Pliers, or these 2-Step Curved-Edge Smooth Jaws Parallel Pliers which allow you to create smooth curves without marring the metal surface.

Once you have the ends almost closed, use them with a second pair of Nylon Jaw pliers, to twist the ends slightly beyond their meeting point then back, as this provides extra tension and ensures the ring meets flush.
Hold the ring up to the light to ensure there is no light coming through the join (showing a perfectly flush finish). If there is, then keep readjusting until it fits perfectly with no light showing (file the ends further if necessary).
Solder won’t fill the gap, so this step is important.
Soldering & Filing
Apply flux to the join (you can use scrap wire or a flux brush), as this prevents oxidation, and ensure it covers the entire seam.
Solder hardness note: Depending on whether you plan to do any further soldering in this ring project while determine which type of solder you use. This is because different hardnesses of solder melt at different temperatures. Therefore you should start with the hardest solder that has the highest melting point, and work your way down as you continue to work on a piece. Following this process will mean that the temperature required for your later work should not melt your existing solder.
Cut small pieces of solder appropriate for the size of the joint, and place them next to the joint.
Adjust the temperature of your torch for the type of solder you are using:
- Hard solder: 1450°F (788°C)
- Medium solder: 1390°F (754°C)
- Easy solder: 1325°F (718°C)
Next, begin heating the broader area of the ring band to prevent any thermal shock, and then concentrate the flame on the joint itself. Heat it until the solder melts and flows through the joint without any direct heat.
As you heat the piece, watch for the flux to bubble and then clear. At this point, watch the solder closely; it should start to glisten and flow at its melting point. Move the flame slightly away as soon as the solder flows to avoid overheating, which can lead to a brittle joint or melting of the wire.
Now remove the heat and let the ring cool naturally for a few minutes.
Next, place it in a pickling solution for several minutes to remove any oxidation until the metal looks clean, then rinse it under running water to remove any acidic residue.
Now you can file your joint to remove any excess solder. You could use a pair of Smooth Jaws Parallel Pliers, or pair of Plastic Jaws Parallel Pliers if you prefer the flexibility to move the ring freely, or alternatively a bench vice should you prefer a secure fixture when filing.
Shaping
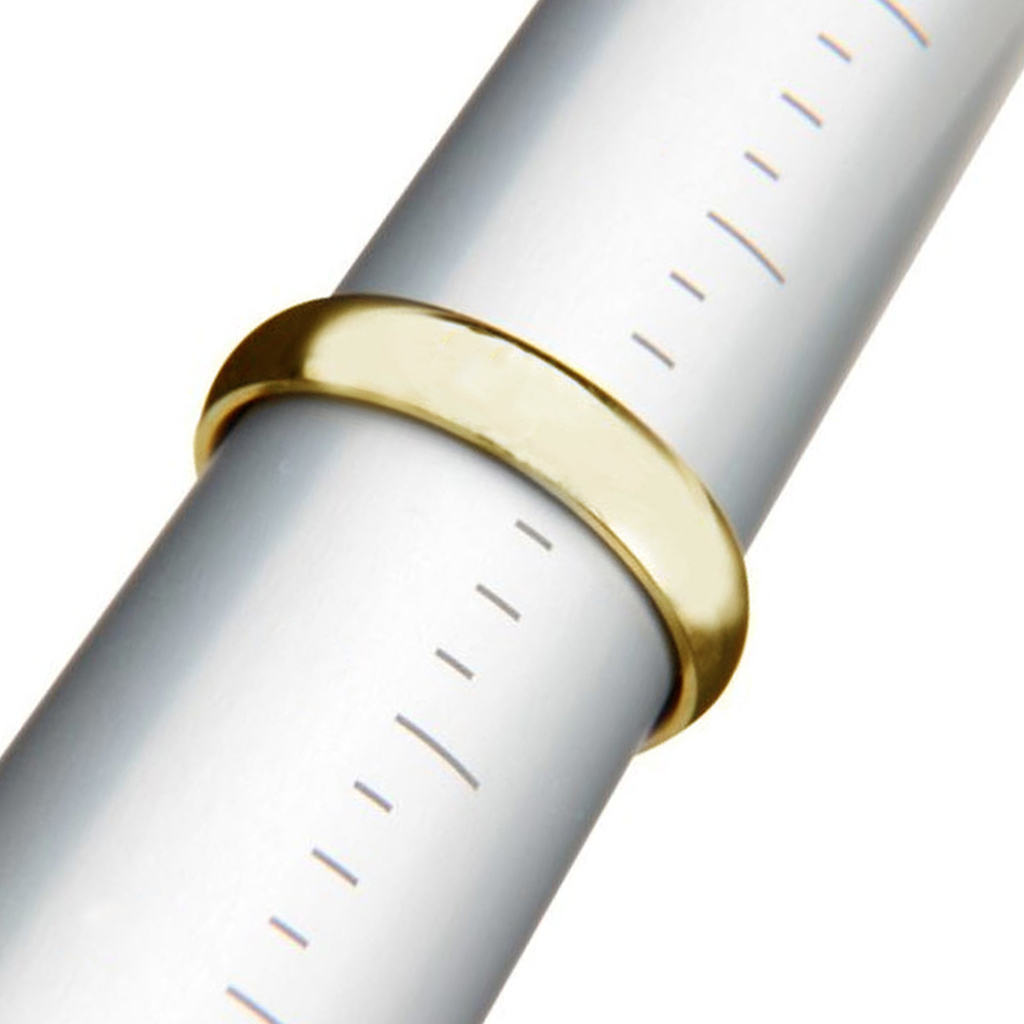
Place your band over your ring mandrel, and using your mallet, gently tap all around it to shape it to the appropriate size and a perfect round shape.
If needed, you can anneal the band to make it more pliable, but it will then need to be hardened to prevent it from becoming misshapen.
Polish
To polish the band, start with a coarse polish using a motorised buffing wheel, and work down to finer abrasives until you get your desired finish – the finer you go, the more gloss/shiny the finish.
The ring should be secure on a polishing pin or clamped, to ensure you can be accurate during the process.
Finish it with a jeweller’s cloth with polish in it to provide a final shine.
Textured Band (Optional)
If you want to give your band a textured look, then when you’re measuring your wire, you need to make it a size smaller than your desired ring size, as texturing makes the ring bigger.
You can use a repousse or bell-peen hammer to gently hammer texture around the band against an anvil or steel block.
Regularly check the mandrel to ensure you aren’t taking it beyond the desired size of the ring.
Final Summary
Now you should have a beautiful ring band ready to wear.
If you have any feedback or improvements you’d recommend for this post, we’d love to hear from you.
This post was brought to you by Maun, experts in tools since 1944.
Scroll back up to re-read any key points, browse our related pages below, or contact us with any questions: