
How To Make Dazzling Gemstone Earrings From Scratch
13th Aug 2024
Do you want to make fabulous earrings with gemstone settings,
or discover how to enhance the professional sparkle of your earrings?
Then this guide is for you.
We detail step-by-step how to form your settings and set your gemstones for the perfect pair of earrings.
Creating your setting
We’re going to take you through two settings that start with the same initial collet-making process:
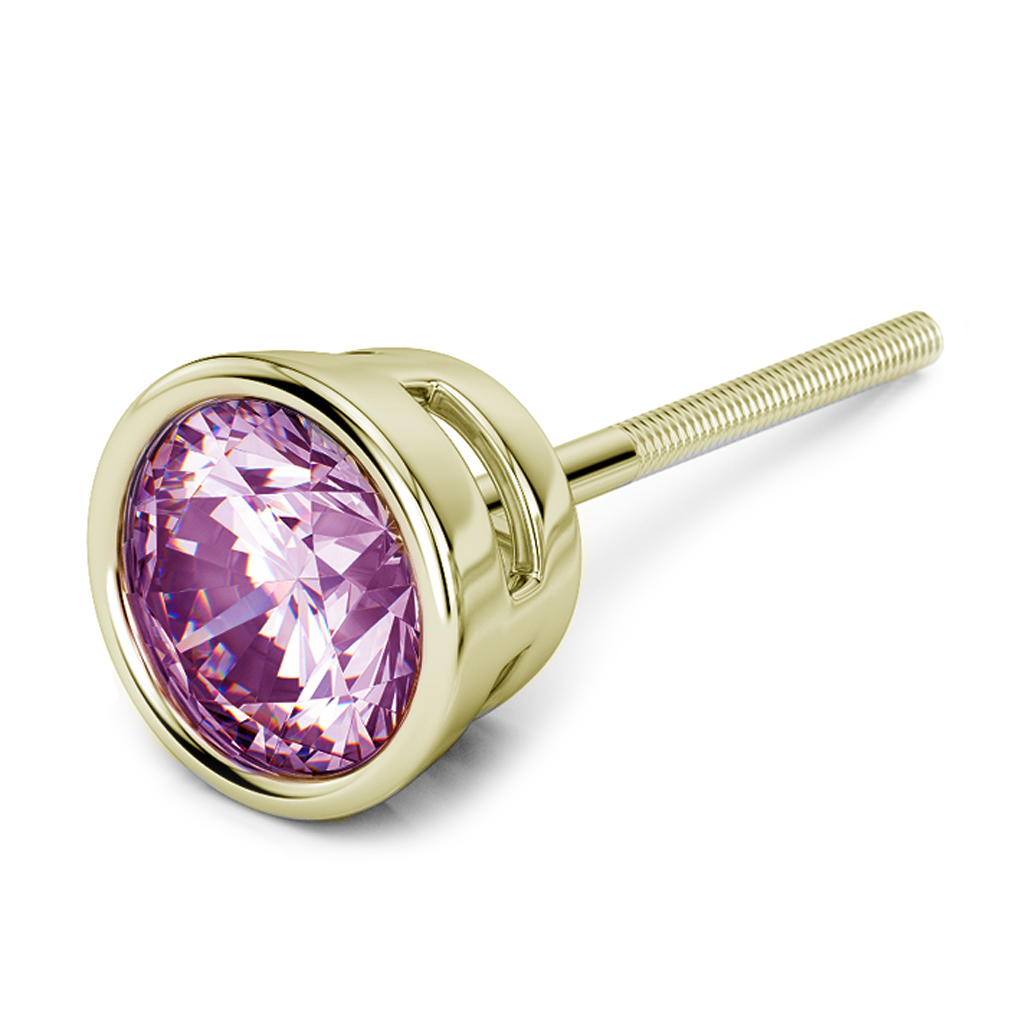
- Bezel Setting: a metal strip cut to the same height as the stone, formed into a loop, and compressed inwards all around to secure the stone. These offer a seamless contemporary look.
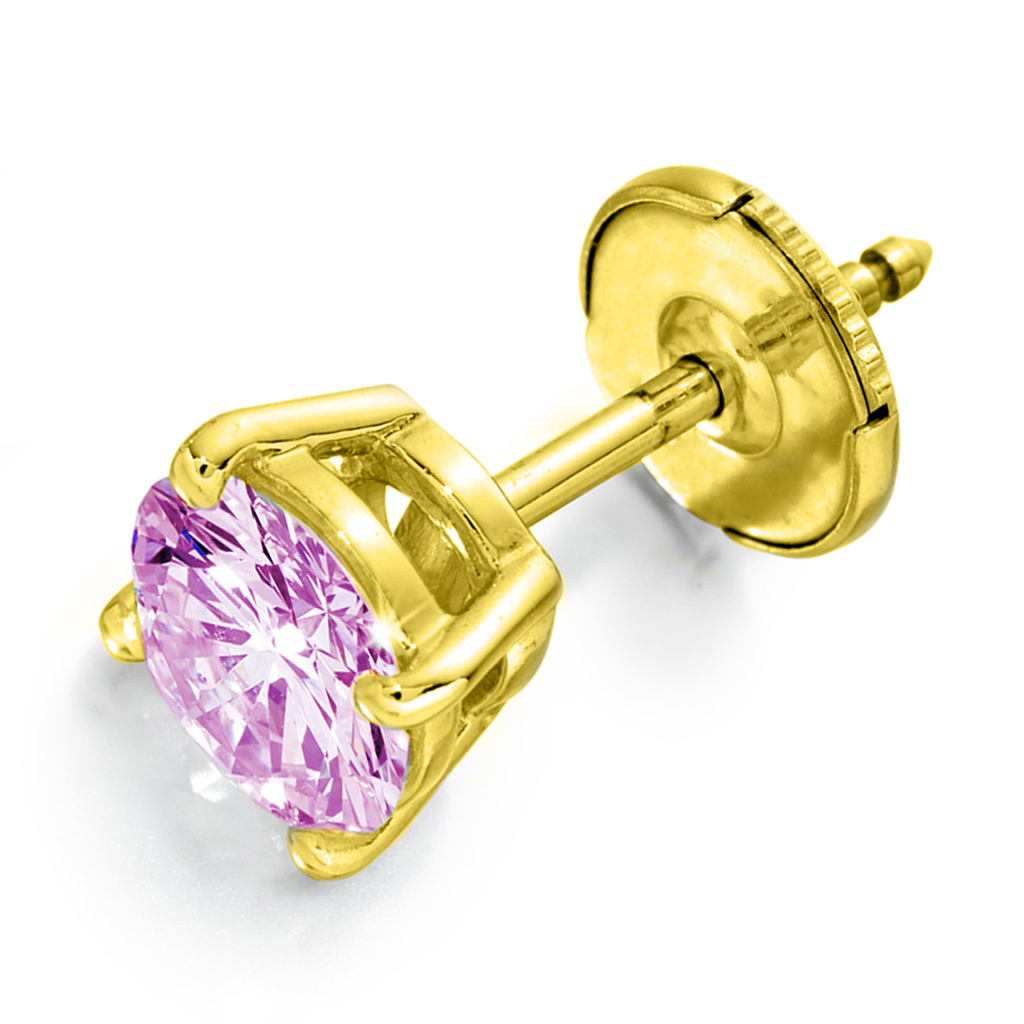
- Claw or Prong Setting: a more intricate, delicate setting designed to provide maximum light, typically with claws extending to the sides and over the stone The claws are then compressed downwards to secure it more delicately.
Start by measuring your gemstone using callipers, and use those measurements to design your setting.
Next, using those measurements, cut a metal strip to the correct dimensions and file down the edges.
Smooth Jaws Parallel Pliers provide a firm, consistent grip along the whole length of the jaws. The vice-like grip means the metal strip can be held firmly, whilst the edges are filed.
You might also consider Nylon or Soft Plastic Jaws Parallel Pliers, for this activity. The alternative plastic jaws offer additional protection when working with the softest metals.
Your metal strip is then ready for shaping using a mandrel or round edge to create a perfectly rounded form that matches the stone’s outline.

We recommend using the Round And Flat Jaws Parallel Plier 140 mm for this, as it gives you exceptional control and allows you to apply force to your metal without crushing the setting (due to the round jaw supporting it from the inside).
Next, solder the edges together to form your base setting, filing any excess solder afterwards.

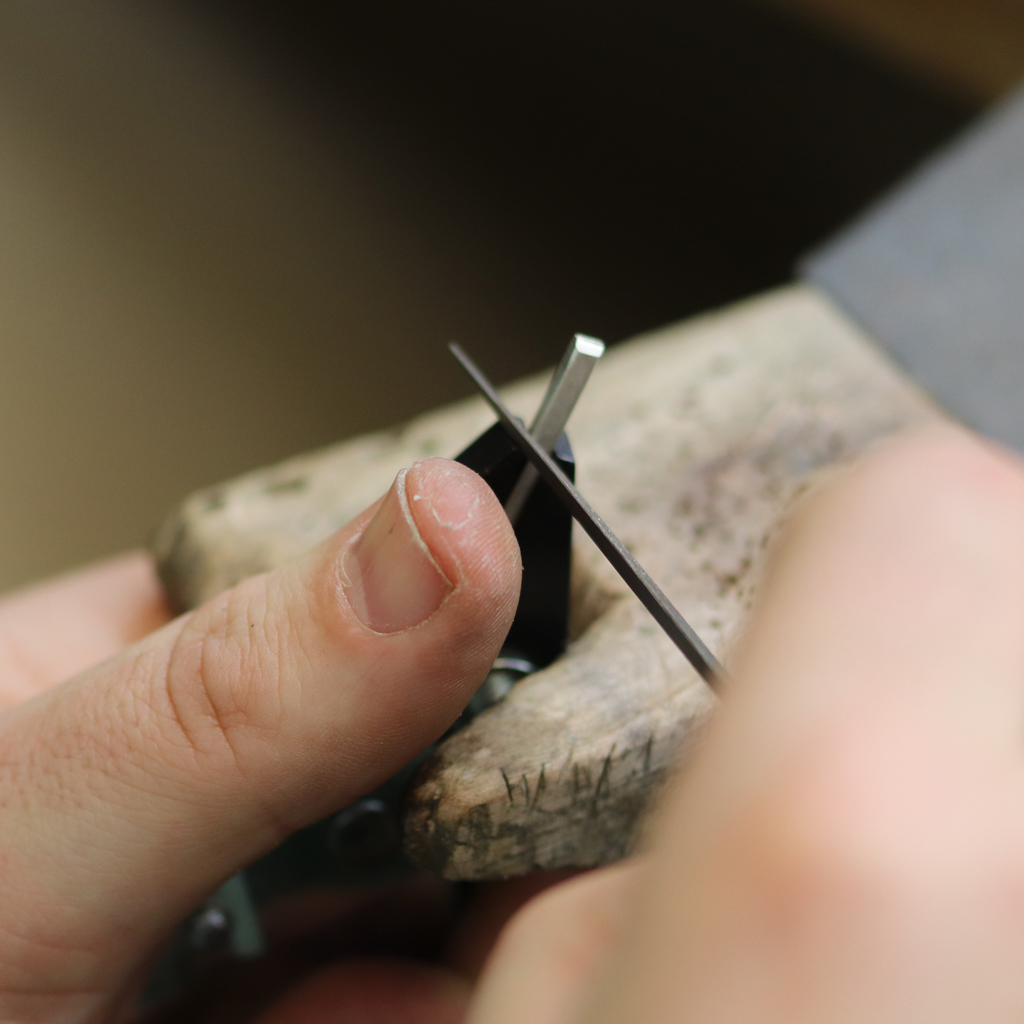
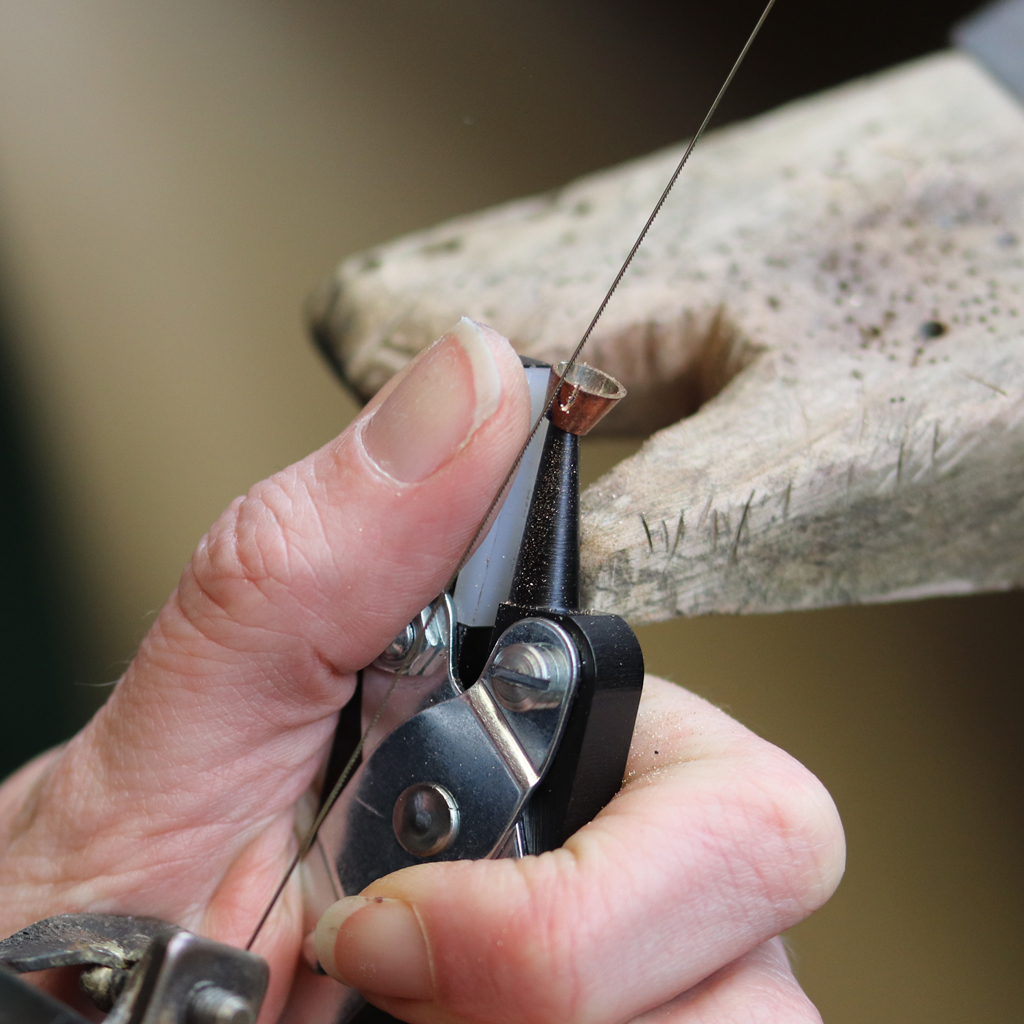
For the claw setting, you’ll now want to make a series of “daylights” (cut outs around the collet that allow more light to pass through the stone) using your piercing saw, drills and files to create your design. One of the common issues here is gripping the setting enough to make the cuts, as traditional clamps or pliers can either crush the setting or not grip it well enough.
That’s where the Round And Flat Jaws Parallel Plier 140 mm comes into play again, as the round jaw supports the setting from the inside, allowing you to apply more force for better grip during cutting, and providing great access around the sides of the collet.
You will also need to add your claws. You could cut these from the collet along with your daylights, or solder short wire pieces of equal length, to the sides of the collet.
Finish this step by filing down any sharp edges or irregularities using a needle file, ensuring the edges are even.
You could also consider the Fine Nose Round And Flat Jaws Parallel Plier 125 mm for smaller settings.
And where the softest metals are being used to create your setting you may find the Fine Nose Round And Flat Soft Plastic Jaws Parallel Plier 125 mm or the Round and Flat Nylon Jaws Parallel Plier 140 mm, which provide additional protection against surface blemishes.
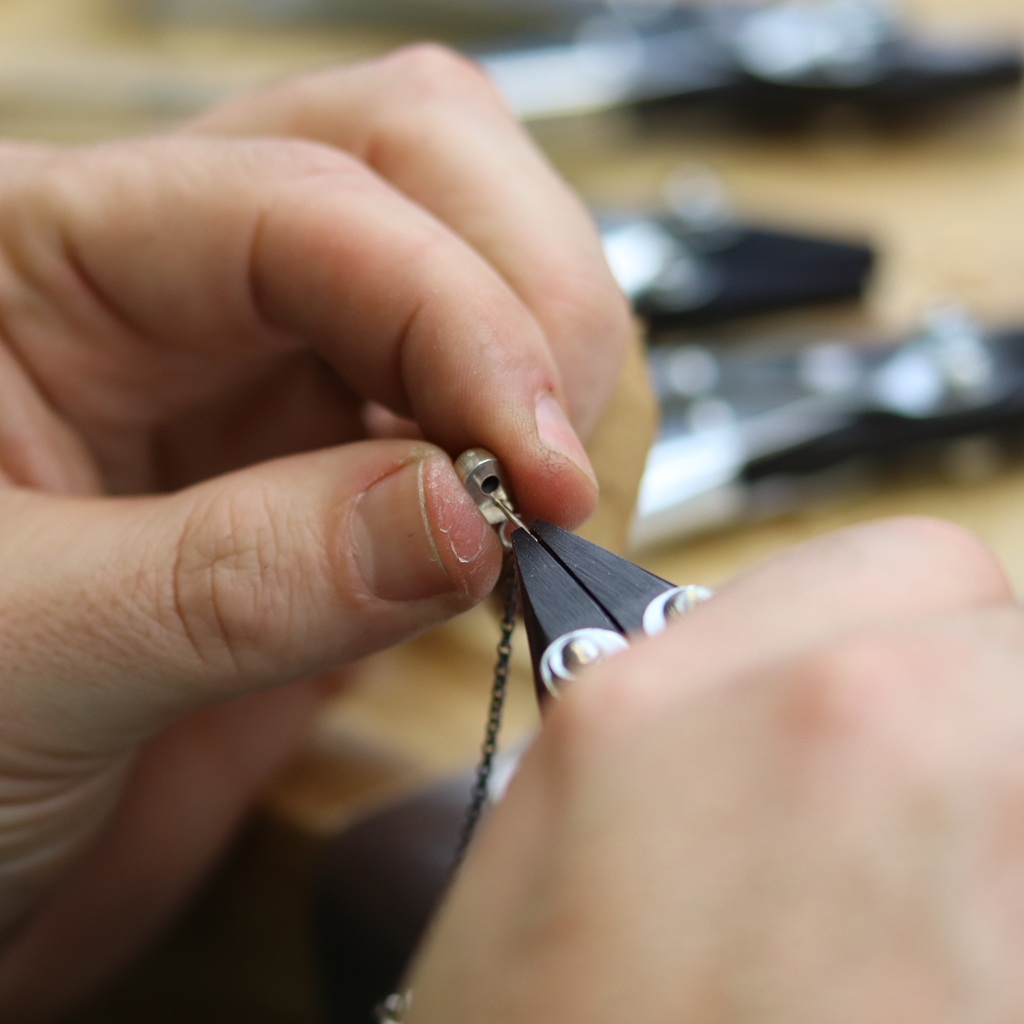
Attaching your setting to the earring post
Carefully align the post with the spot on the setting you’d like to attach it to.
Use jeweller wax or a small clamp to temporarily fix it in place.
Clean all the areas to be soldered with a small brush and solvent.
Apply a small amount of flux to both the post and the setting at the point of contact.
Solder the joint together, ensuring you heat the metal evenly.
Allow the piece to cool naturally, then pickle the earring in a mild acid solution to clean off any oxidation, then rinse thoroughly.
Once the post is attached, it can be soft, so it needs to be hardened by slightly twisting and pulling it using Snipe Nose Smooth Jaws Parallel Plier 125 mm, as you don’t want it to twist or bend when it’s inside someone’s ear.
And finally, file down any excess solder for a smooth finish.
How to set your stone
In this section, we will fit the gemstone in your earring setting.
The reason this step is last, is because the heat of soldering can damage some gemstone, so you want to complete all of your soldering before this step.
- The first step is to clamp your earring securely, so it doesn’t move. This is often achieved with a ring clamp or by setting your piece in a thermoplastic modelling polymer to keep it stable.
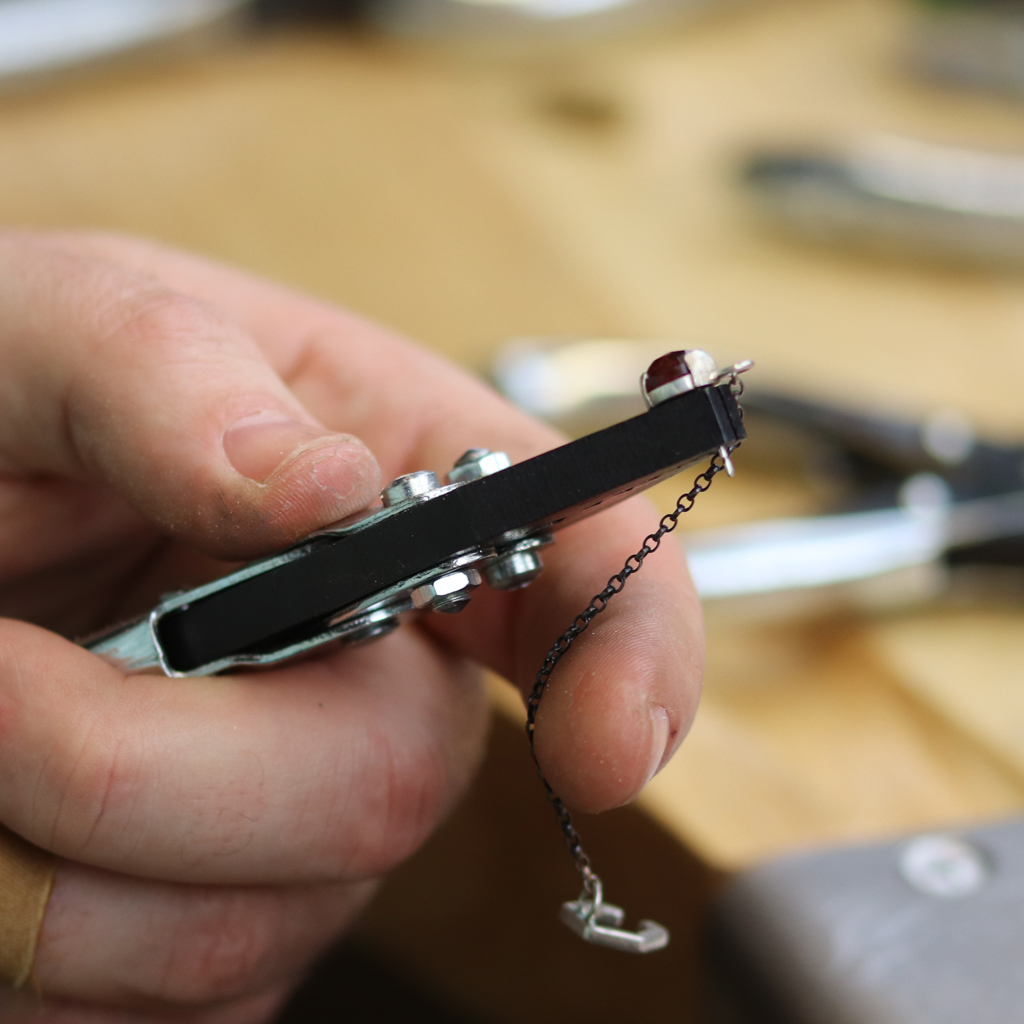
- You might also choose the grip of either Smooth Jaws With V Flat Nose Parallel Plier 125 mm or V Notch 0.4 mm To 6.0 mm Jewellery Wire Holding Parallel Plier 125 mm. These pliers also offer an exceptional gripping solution for this activity. They do this by ensuring a minimum of three opposing sides of contact on the earring post, and a flat surface against which the back of the earring can be seated.
The next step depends on the type of setting:
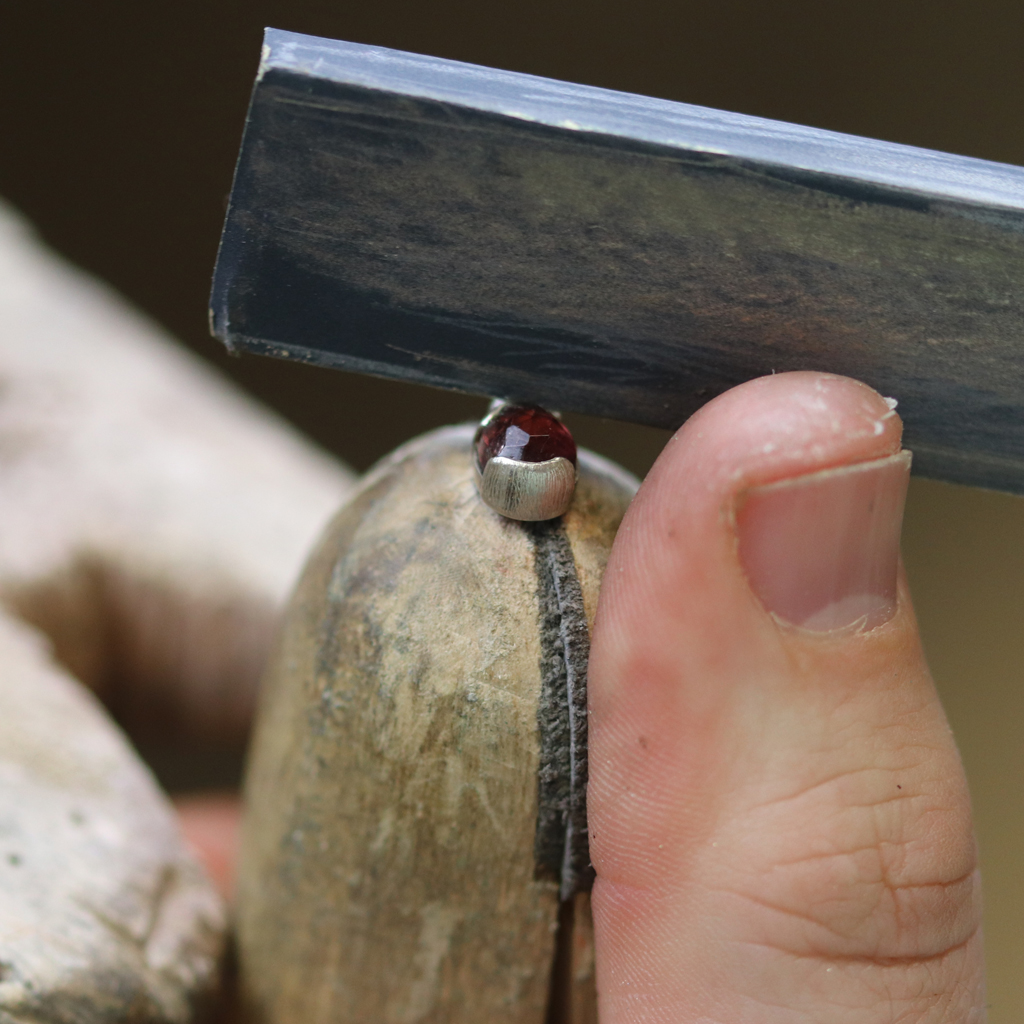
For a bezel setting
- Place your gemstone inside the setting and brace the setting in your plier or ring clamp.
- Using your bezel rocker, firmly press the metal inwards towards the gemstone, a bit at a time, doing opposite ends after each other. For example, if you visualise a compass, if you start pushing from the North, then the next one you do would be from the South.
- Continue this until all sides have been pushed in, and it looks relatively circular and smooth.
- Next, use the rocker to push downwards over the lip of the stone, to fully secure it, using the same opposite end method as in the first step.
For a claw setting
- Place your gemstone on top of the setting, so you can visualise the shape and decide where it needs to sit. Make a mark on each of the Claws where the gemstone sits level. Be sure to mark all of the claws and check that all of the marks are level.
- Using an appropriately sized bur, cut a 1/3 notch into the claws level with your markings. This is going to allow the gemstone to sit into the claws and allow you to bend them more easily, without them becoming weak. You shouldn’t make the entire cut at once, instead, do it gradually, checking against all other markings and cuts to ensure your stone will remain level.
- Next, insert your stone into the setting, and use Smooth Jaw Snipe Nose Parallel Pliers to begin closing the setting around the stone. The best way to do this is by compressing opposite claws at the same time from above. You want to first bring them inwards, and then tilt your tool so the pressure is applied on top of the gemstone, to create a secure finish.
- Carefully file down any excess material on the claws using needle files with a safe edge to avoid any damage to your gemstone. Your finish should leave you with claws of equal length and enough metal to secure the gemstone, without crowding it out.
- Next, use a bezel pusher to firmly press down on the setting edge. This allows you to apply much greater pressure than pliers, to completely remove any gaps between the gem and the setting. It prevents threads or hairs from getting stuck inside the claws.
- The next step is to file down the edges of the setting to create the perfect shape, rounded against the stone. Then use a cup bur to create a perfectly round finish.
- The final step is to use a flex shaft to polish your earrings, so they look perfectly shiny and ready to use/sell.
This video is an excellent demonstration of how to set a diamond earring: https://www.youtube.com/watch?v=mNhFeWwYlrg
Final Summary
Using the right tools and techniques, you can make a gemstone earring that you’ll be proud of.
If you have any feedback or improvements you’d recommend for this post, we’d love to hear from you.
This post was brought to you by Maun, experts in tools since 1944.
Scroll back up to re-read any key points, browse our related pages below, or contact us with any questions: