
How To Make Jump Rings
27th Aug 2024
Jump rings are essential for linking chains, attaching
clasps, and creating connections.
But what separates average jump rings from professional ones?
In this guide, we’ll help you upgrade your jump ring technique.
How to make jump rings
To make a jump ring, you’ll need some jewellery wire, and a round edge to bend it against.
If you need help choosing the right jewellery wire, we have a great post on it here.
Here are the two methods for creating jump rings:
- Mandrel – a long round cylinder of consistent diameter. Simply wind your wire around it into rings, then saw each ring off with a jewellers saw or use side cutters.
- Round Nose Pliers – pliers with either one or two rounded jaws. Holding the wire with the pliers, you hold the wire with one hand and twist the pliers while gripping to create your rings. Then clamp them with soft jaw pliers while you use a jeweller's saw to cut them into individual rings.
While beginners may prefer the ease of use of the mandrel, we recommend you upgrade to using round-nose pliers to increase your speed. There are three good options for these:
- The Fine Nose Round Jaws Parallel Plier 125 mm was developed for creating very small jump rings with minimal effort, and helps you create more intricate pieces.
- The Round Jaws 1 1/2" Parallel Plier 140 mm are slightly larger, offering multiple sizes along the tapered jaws.
- The Round And Flat Jaws Parallel Plier 140 mm helps you make loops and bend wire with one tool.
If you’ve used wire cutters, you will want to file down the open ends of the ring to be flat, so they will create a more secure connection.
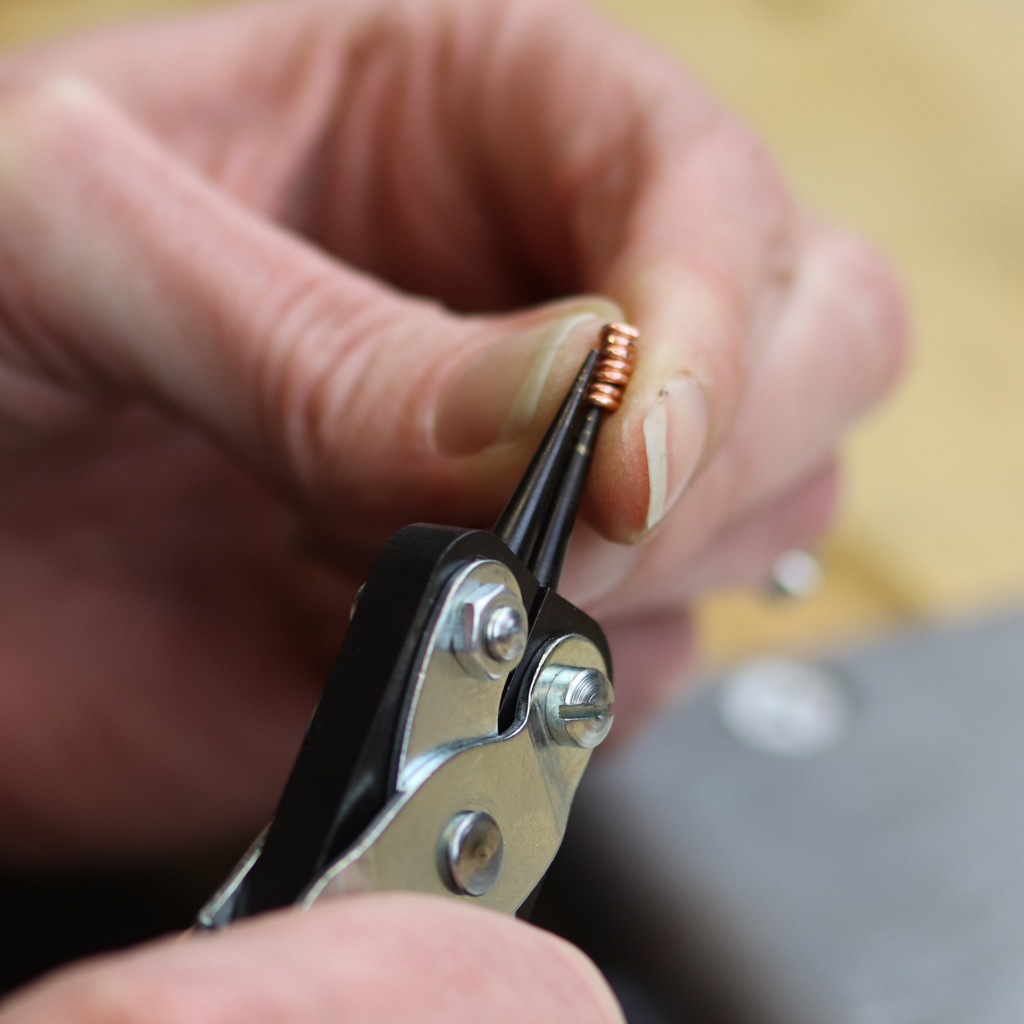
How to open and close jump rings
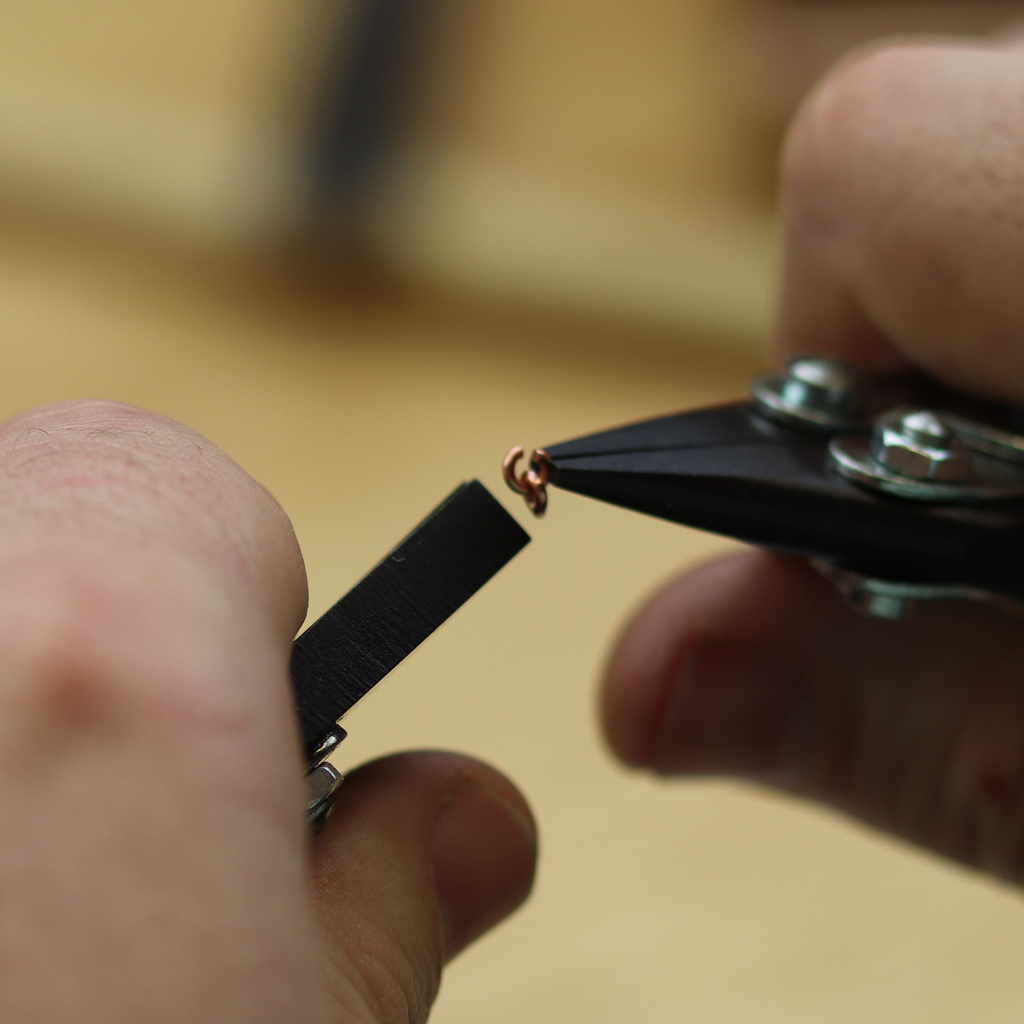
To open a jump ring, hold one side in Smooth Jaw Snipe Nose Parallel Pliers securely, and use a second pair of pliers (such as your Fine Nose Round Jaws Parallel Pliers) to gently twist the ring so it opens (only twist as far as you need to, to avoid damaging it).
To close a jump ring, hold both sides of the ring with your two pairs of pliers and gently twist the two open ends back together slightly further than the join.
They can then be twisted back to a flush finish. This creates a stronger connection and is neater than just closing them normally the first time.
If you plan on soldering the rings onto a flat surface, then you’ll want to file the join down slightly to create a flatter surface, which will bond better during soldering.
How to solder jump rings

To solder a jump ring together, close the ring securely so the two ends meet, then apply a small amount of flux using a small brush to promote the flow of the solder.
Place the jump ring in a soldering block, cut a small piece of solder and position it on the joint, heat the jump ring using a jewellers torch set to a small precise flame, and use it until the solder has filled the joint.
Now remove the heat and allow it to cool, then place in a pickling solution to clean. Then rinse with water to finish.
Use a small file to smooth any excess solder on the joint, then polish to restore its shine.
What are jump rings used for?
Connecting Components:
- Attach clasps to chains for secure fastening.
- Link decorative elements to earring hooks for movement.
- Connect pendants or charms to chains for natural dangle.
Extending and Repairing:
- Extend necklace or bracelet length with additional rings.
- Replace broken links to restore jewellery.
Creating Designs:
- Use in chainmaille to create intricate, durable patterns.
- Organise strands in multi-strand designs for balance.
Securing Elements:
- Attach safety chains to prevent loss if clasps open.
- Serve as hidden connectors to secure parts without affecting aesthetics.
Enhancing Aesthetics:
- Add detail with twisted or textured rings.
- Create depth in layered designs by linking elements.
Final Summary
Jump rings are essential jewellery items that should excel in their functional role but should not distract from the feature of the piece. Now you have the knowledge of a number of methods to create and join the perfect jump rings, and the right tools you need to make jump rings for a range of jewellery pieces.
If you have any feedback or improvements you’d recommend for this post, we’d love to hear from you.
This post was brought to you by Maun, experts in tools since 1944.
Scroll back up to re-read any key points, browse our related pages below, or contact us with any questions: